Key Takeaways About a Cannabis Kitchen
- Cooking with cannabis doesn’t take much; you just need a consistent method for heating, infusing, and dosing.
- Extra tools, such as molds, thermometers, and dropper bottles, make infused cooking cleaner and more repeatable over time.
- Most cannabis cooking tools come from the same places you already shop for baking and storage supplies.
Cooking with cannabis isn’t complicated, but it does work a little differently than throwing together a normal recipe. In a cannabis kitchen, heat matters, infusion takes time, and dosing is something you actually want to pay attention to. Once you have the right tools and a basic process, making infused butter or oil starts to feel pretty routine.
What Tools Do You Need to Cook with Cannabis?
You don’t need much to cook with cannabis, but the few tools you do use matter. They’re often the difference between feeling organized and realizing partway through that a little planning would’ve helped.
Cannabis Kitchen Essentials
These are the tools that make infused cooking possible in the first place.
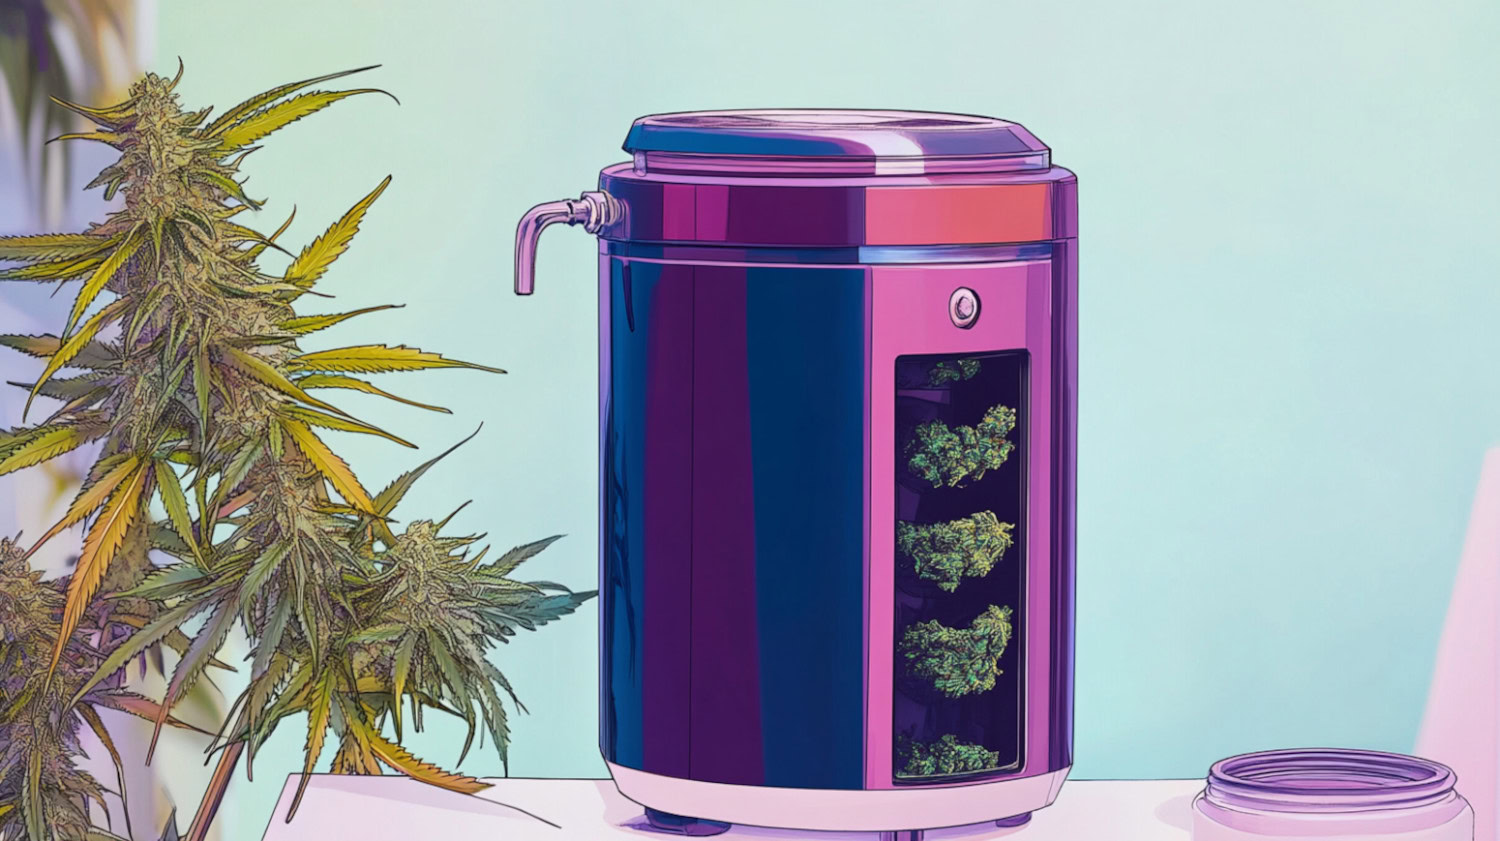
- Heat source (oven or decarb device): Before infusion, cannabis needs low, even heat. Ovens do the job, but decarb machines help control temperature and smell, so results don’t feel like a coin toss.
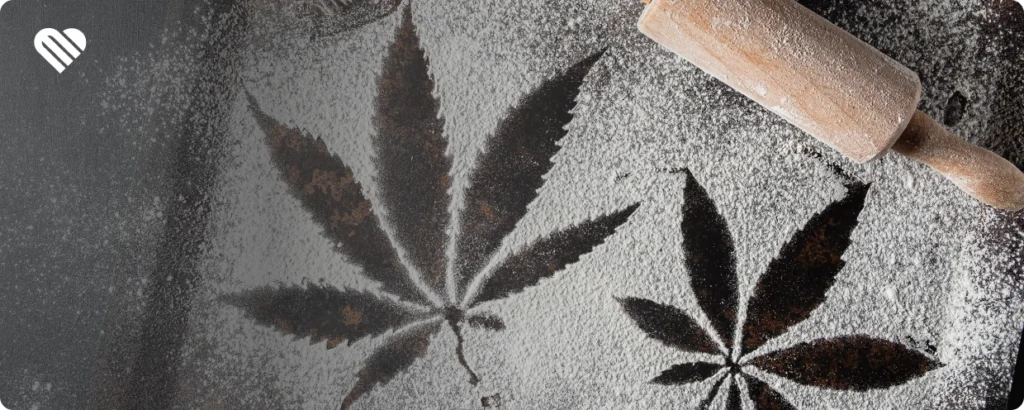
- Baking sheet and parchment paper: Used during heating to spread cannabis evenly onto and make cleanup easier afterward. Basic kitchen gear that saves you from a much worse mess later.
- Grinder: Breaking cannabis into evenly sized pieces helps it heat more evenly. A simple grinder works fine. Consistency matters more than having the fanciest tool in the drawer.
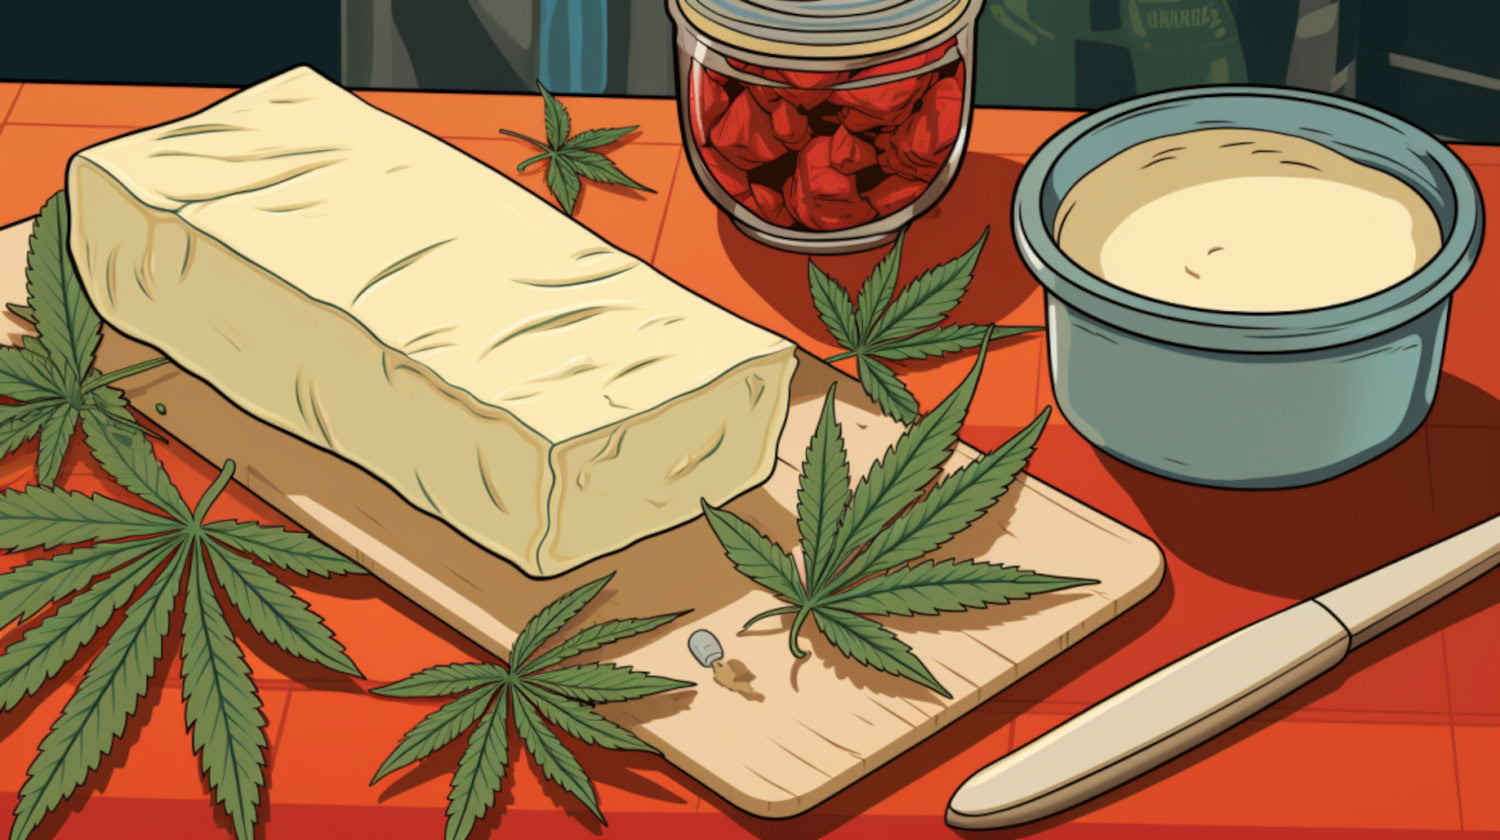
- Infusion method (stovetop or infuser machine): Once heated, cannabis is combined with a fat like butter or oil. Stovetop infusion works, but it takes careful monitoring. Electric oil infusers handle temperature and timing automatically.
- Fine strainer or cheesecloth: After infusion, the plant material needs to be removed. A fine-mesh strainer, cheesecloth, or reusable nut milk bag helps separate solids from liquid and prevents grit from stealing the spotlight.
- Measuring tools: Measuring cups, spoons, a heat-safe spatula, and a small digital scale help you control portion size and keep you from accidentally eating your way into a surprise nap.
Nice-to-Have Tools
These tools aren’t required, but they make infused cooking cleaner, neater, and more predictable.
- Gummy or chocolate molds: Silicone molds help create uniform chocolate or weed gummy pieces, making portioning easier and reducing the need to cut sticky batches by hand.
- Digital thermometer: Infusions like low, controlled heat. A thermometer helps you avoid overheating and keeps temperatures in a safe, controlled range.
- Dedicated infusion containers: Glass jars or heat-safe containers with airtight lids can help keep odors contained and simplify storage and cleanup. Just make sure to label them clearly so they don’t get mistaken for something else later.
- Funnels or dropper bottles: These make it easier to transfer infused oils or syrups into storage containers or molds without spills.
- Oven-safe cover (foil or lid): Sometimes used during heating to help contain aroma. Not essential, but useful if you’re trying to avoid announcing what’s happening in the kitchen.
- Disposable gloves (optional): Helpful during straining and cleanup, especially with warm oils. Mostly about not spending the rest of the evening wondering why your hands still feel greasy.
Gear for Infused Drinks
Infused drinks use a lot of the same ingredients as edibles, but they’re easier to manage when you have tools that help with mixing and portions.
- Heat-safe mug or teapot: Glass or ceramic is best for infused teas and herbal blends, as it won’t hold onto flavors or odors.
- Fine strainer: Keeps plant material and spices out of your cup for a smoother drink.
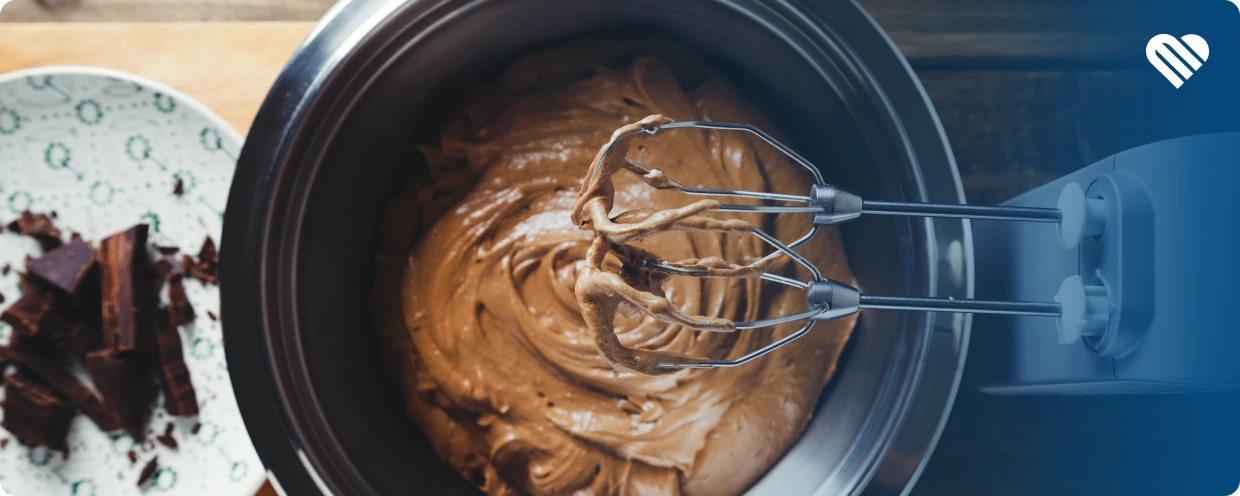
- Blender or milk frother: Helps infused oils or syrups blend evenly into coffee, smoothies, or hot chocolate, preventing separation.
- Dropper bottles or small jars: Make liquid infusions easier to measure, pour, and label.
- Ice cube trays (optional): Turn infused liquids into ready-to-use portions for smoothies, iced drinks, or mocktails.
Where Can You Find Cannabis Cooking Gear?
Most cannabis kitchen tools, aside from dedicated infusion makers or containers, aren’t sold at dispensaries. They’re sold where regular kitchen gear is sold.
You’ll find them at:
- Kitchen supply stores
- Online retailers
- Cannabis accessory shops
- Even your local bigger chain stores, like Walmart or Target
In most cases, you’re shopping for kitchen tools, not specialty cannabis gear, so places that sell baking and storage supplies will cover almost everything on this list.
For storage containers, standard food storage brands work well. Just choose airtight options and keep them clearly labeled.
How Should You Store Homemade Edibles?
Once you’ve made your edibles, how you store them matters just as much as how you cooked them.
- Use airtight containers: Choose glass containers with tight seals to block moisture and odors and keep texture and flavor intact.
- Label everything clearly: Mark each item with what it is, when it was made, and what it contains.
- Refrigerate or freeze when needed: Cold storage helps butter, oil, baked goods, gummies, and chocolates last longer and hold their shape.
- Store separately from regular food: Keep infused items in their own container and in a designated spot in the fridge or freezer to prevent mix-ups.
The information in this article and any included images or charts are for educational purposes only. This information is neither a substitute for, nor does it replace, professional legal advice or medical advice, diagnosis, or treatment. If you have any concerns or questions about laws, regulations, or your health, you should always consult with an attorney, physician or other licensed professional.